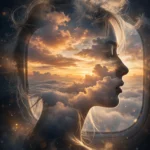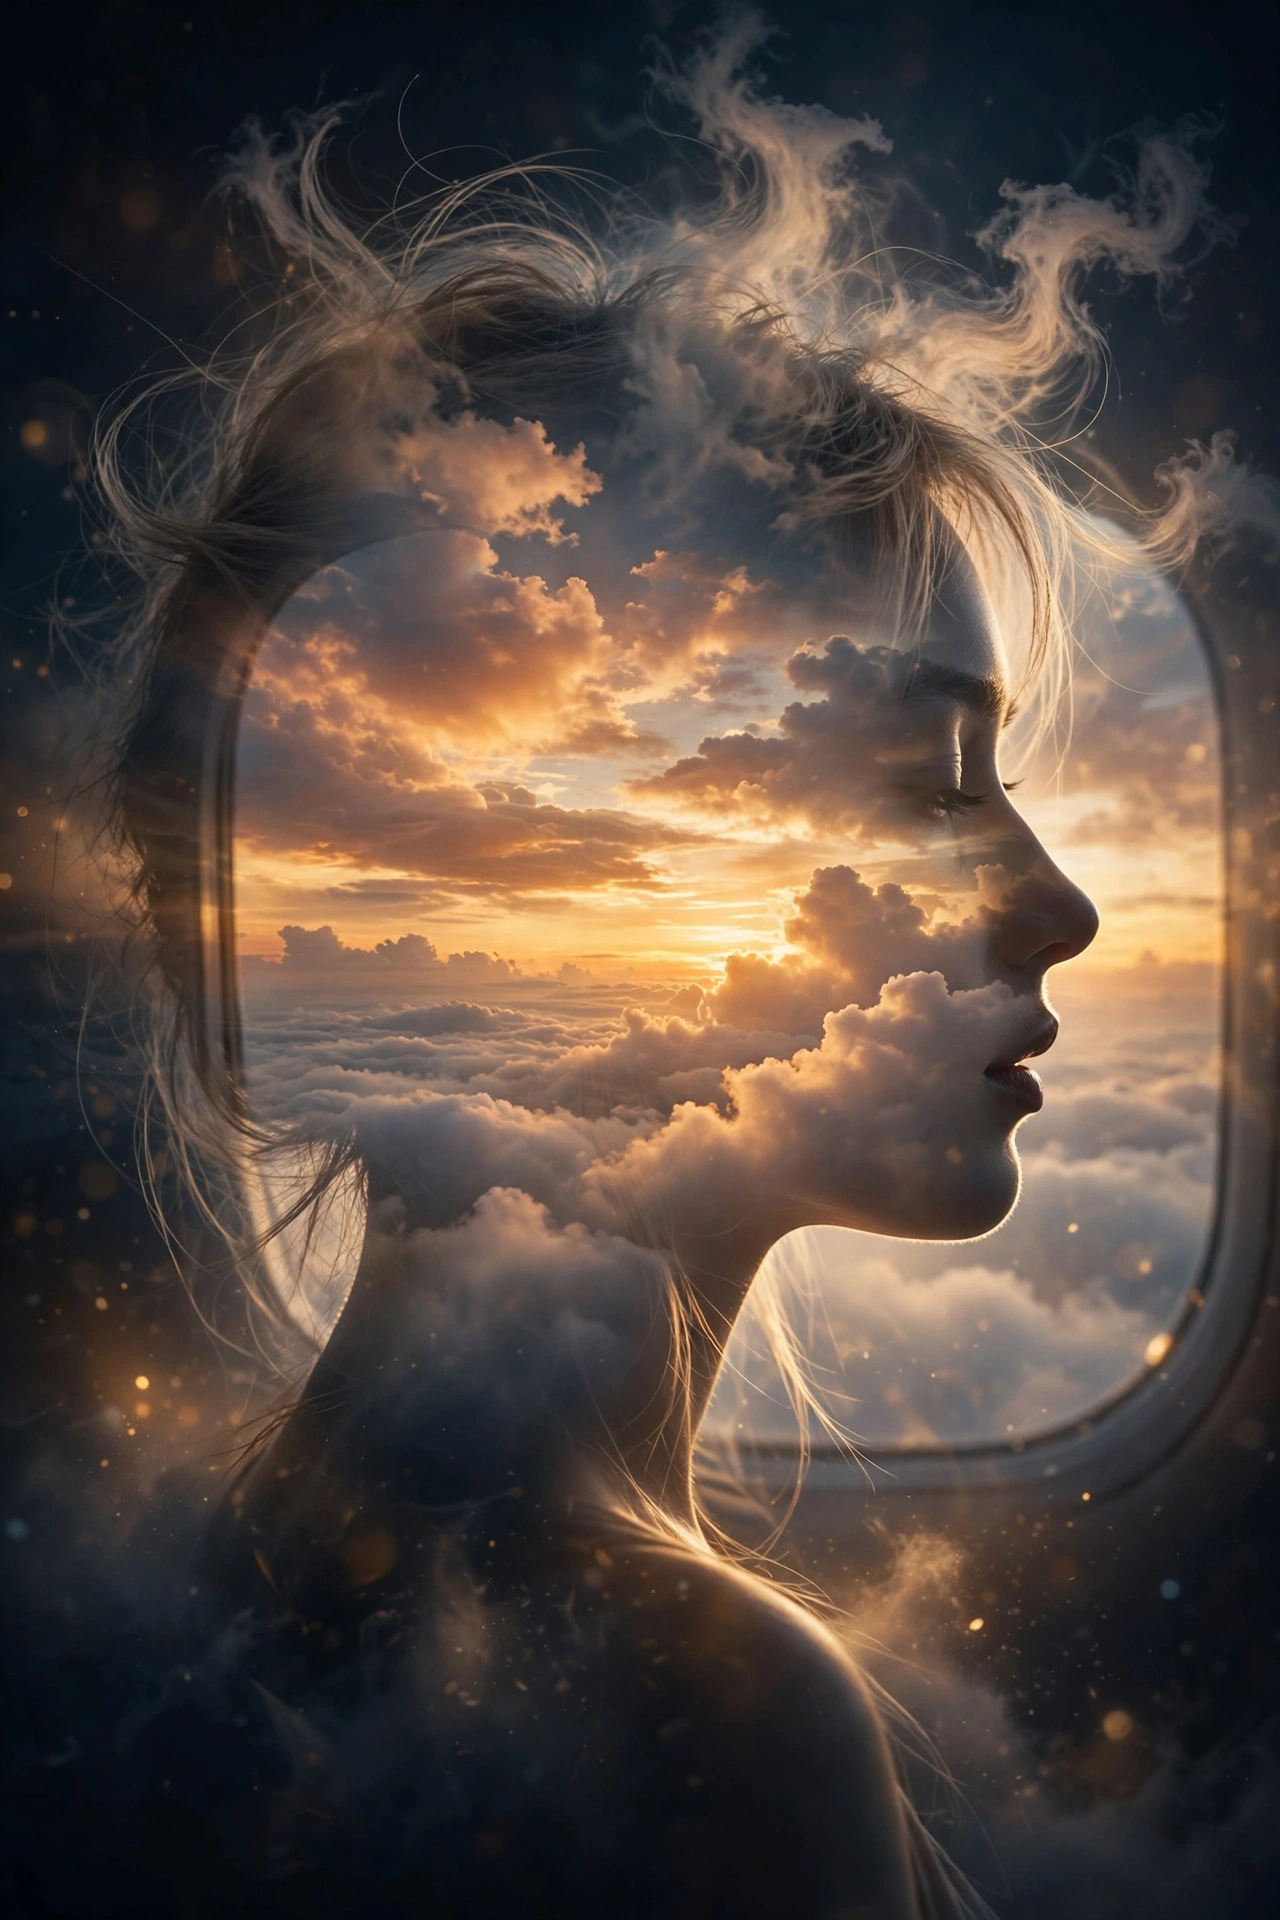
Some portraits stop you mid-scroll because there’s a whole second world living inside them. A face in profile, and inside the silhouette: clouds, a sunset, a sky full of stars. Double exposure edits are the most-saved photo trend of the month, and the good news is they take one photo and one prompt — no Photoshop layers, no masking by hand.
The trick most people miss is the starting photo. A clean side profile gives the AI a silhouette worth filling. Feed it a straight-on selfie and you’ll get a muddy blend where neither layer reads properly. Get the profile right and all three of these prompts land on the first or second try.
What you need
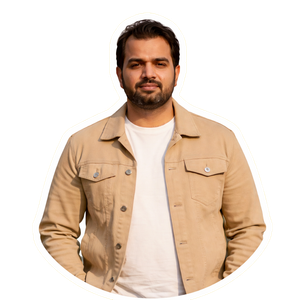
- A side-profile photo of yourself — chin up slightly, hair off the face if you can, plain background behind you
- An AI image editor with photo upload (Gemini holds the blend best, ChatGPT works too)
- One scene you actually care about — travel, the sea, your city — because personal scenes outperform generic ones
No profile shot handy? Take one against a blank wall with window light from the side. Thirty seconds of effort here saves you five regenerations later.
The prompts
Each prompt keeps your profile sharp on the edges and lets the second scene live inside it. Swap the scene in brackets for your own idea and the format still holds.
Create a double exposure portrait from the uploaded photo. Keep my side profile, face shape, hairstyle and skin tone exactly the same — no face change, no beautifying, no identity shift. Inside my silhouette, blend an aeroplane window view: white clouds below, orange and pink sunset sky, soft golden light. The profile edges stay clean and readable while the clouds melt softly into my hair and shoulder line. Dreamy travel mood, cinematic colour, fine detail. No extra fingers, no second face, no text, no watermark. 4:5 portrait.
Turn the uploaded photo into a double exposure portrait. Preserve my exact side profile, facial features and hairstyle — no face change, no reshaping, no skin smoothing. Fill the inside of my silhouette with an ocean scene at golden hour: gentle waves, wet sand reflections, warm sun low on the horizon. Blend the water softly through the lower half of the portrait while my profile outline stays crisp against a deep blue evening background. Calm, nostalgic mood, realistic light. No extra fingers, no extra people, no text, no watermark. 4:5 portrait.
Make a double exposure portrait from the uploaded photo, keeping my side profile, face and hair 100% identical — no face change, no beauty filter, no identity change. Inside the silhouette, place a night city: glowing street lights, soft bokeh, a few tiny silhouettes of rooftops along the bottom edge, and a starry sky across the top. Blend with soft golden edges so the two layers feel like one photograph, not a collage. Moody cinematic tones, sharp profile outline. No extra fingers, no readable signs or logos, no text, no watermark. 4:5 portrait.
How to do it
- Start with the profile. Side-on, looking slightly upward if possible. The upward angle gives the blend more room inside the forehead and hair, which is where the prettiest blends happen.
- Upload and paste prompt 1. The aeroplane-cloud version is the most forgiving — clouds hide small blending errors that a cityscape would expose.
- Judge the edges first. A good double exposure has a silhouette you could trace with one line. If your outline dissolves into mush, regenerate rather than nudging — mush rarely sharpens.
- Then try your own scene. Replace the aeroplane window with your scene in the same sentence structure: a forest, a desert road, your hometown skyline. Keep every face-preservation line untouched.
- Export big. These get saved and reposted a lot, often cropped. Full resolution keeps the cloud detail from turning into soup.
Fixes for the usual problems
The blend looks like a sticker, not a blend. Add “soft feathered blending, the two layers share the same light and colour temperature.” Hard sticker edges usually mean the model treated your scene as a separate picture pasted on top.
My face changed. It happens most when the inner scene contains faces or strong shapes near your features. Pick scenes without people — skies, water, forests, city lights — and the face stays yours.
The inside scene is too faint to see. Ask for “the inner scene bright and clearly visible, occupying the full silhouette.” Models default to subtle; this trend isn’t subtle, so say so.
Hair edges look messy. Loose flyaway hair confuses the blend boundary. A starting photo with hair tied back or smoothed down gives a far cleaner silhouette.
More prompts people are copying right now
New edits drop on the hub daily — here’s what’s getting copied fastest:
- All latest viral prompts in one place
- Sheru Bhai AI photo editing prompts — the lion-man boss portrait
- Viral Dil Ruba AI video prompt — romantic slow-motion reel
- Professional headshot prompts — a LinkedIn-ready studio portrait
Frequently asked questions
Why does my double exposure look muddy?
Almost always the starting photo. A straight-on selfie gives the model no clean silhouette to fill, so the layers smear into each other. Retake it in side profile against a plain background and the same prompt comes out sharp.
Can I use a photo of two people?
You can, but overlapping profiles tangle the blend. It works best when the two profiles face each other with clear space between them. For a first attempt, solo is far more reliable.
Which scenes work best inside a silhouette?
High-contrast, face-free scenes: sunset clouds, ocean waves, forests, mountains and city lights at night. Busy scenes with people or text fight with your features and usually change your face as a side effect.
How do I make the blend stronger, not ghostly?
Add “inner scene at full brightness, clearly readable” to the prompt. Models often default to a faint, artistic fade; the viral versions of this trend use a bold scene you can identify at thumbnail size.